Tutorial/System
Last updated 2025-03-11
There are 41 tutorials that focus on the game's systems:
World Level Increase (I) - Important Message  |
|---|
Main article: World Level 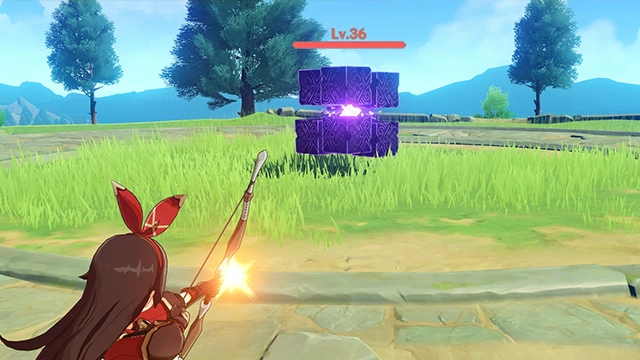 The World Level will increase along with your Adventure Rank, giving more bountiful treasures. But naturally, the opponents you encounter will also grow stronger... 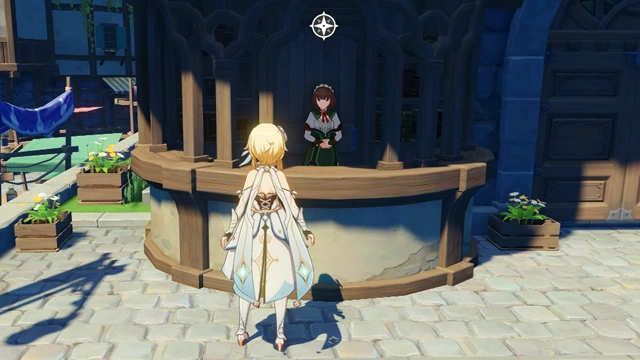 Sometimes you need to complete Adventure Rank Ascension Quests to increase the World Level. Learn more at the Adventurers' Guild. |
| World Level Increase (II) - Important Message |
Main article: World Level 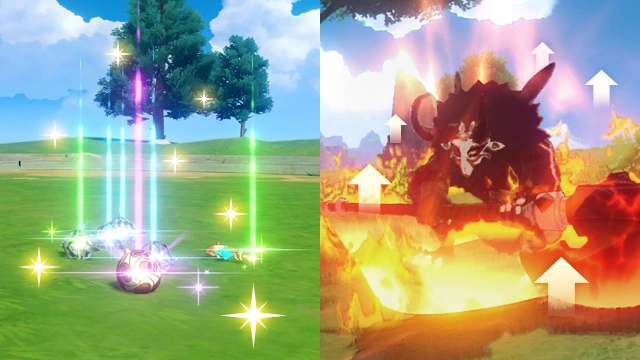 When your World Level increases, you will gain more bountiful treasures. But the opponents roaming the world will also grow stronger... |
| Unlocking Domains - Important Message |
Main article: Domains 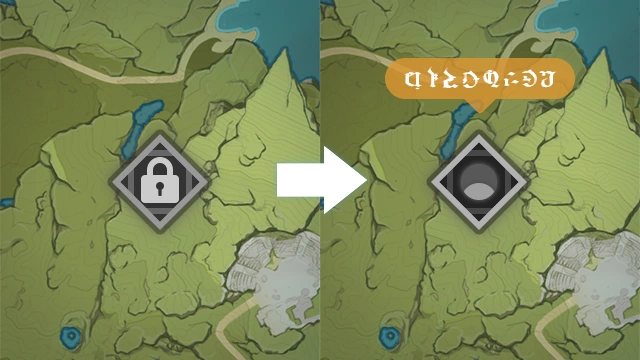 A new domain has been unlocked. Domains hide precious treasures. Be sure to explore the domains scattered all over the world to find the treasures hidden within. 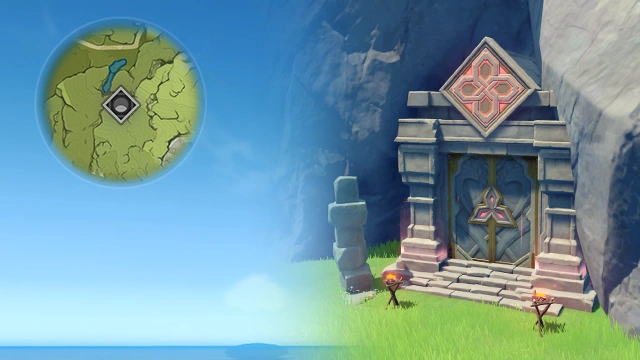 A new domain has been unlocked. Domains hide precious treasures. Be sure to explore the domains scattered all over the world to find the treasures hidden within. |
| Show Cursor - Important Message |
Main article: Controls  Hold Left-Alt to show the cursor and click the on-screen buttons. |
| Original Resin - Important Message |
Main article: Original Resin 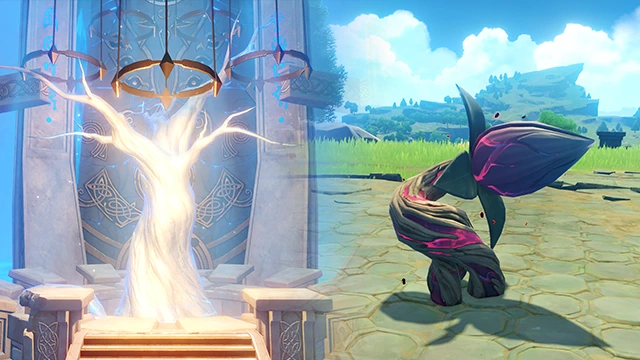 Original Resin can be used to vitalize Petrified Trees found deep in Domains, as well as various Ley Line Blossoms found across Teyvat. Doing so will grant you valuable treasure.  Consumed Original Resin will gradually regenerate back to its limit over time, or can be immediately replenished by spending Primogems. |
| Ley Line Blossom - Important Message |
Main article: Ley Line Blossom  Ley Line openings that are generated in response to someone's will. Touch the opening and defeat all opponents to reveal a Ley Line Blossom. You may spend Original Resin to receive extravagant treasures. |
| Adventure Rank - Important Message |
Main article: Adventure Rank 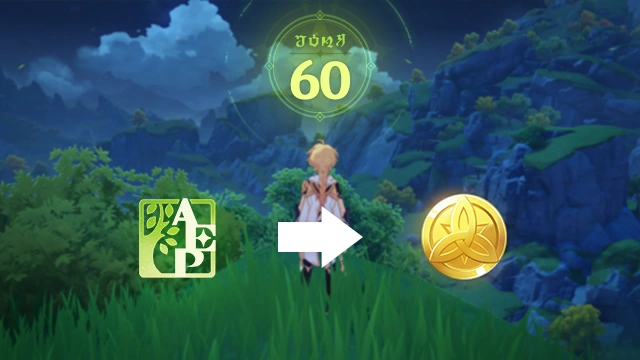 Your Adventure Rank has reached the maximum. From now on, all Adventure EXP received will be converted to Mora. |
| World Level Adjustment - Important Message |
Main article: World Level 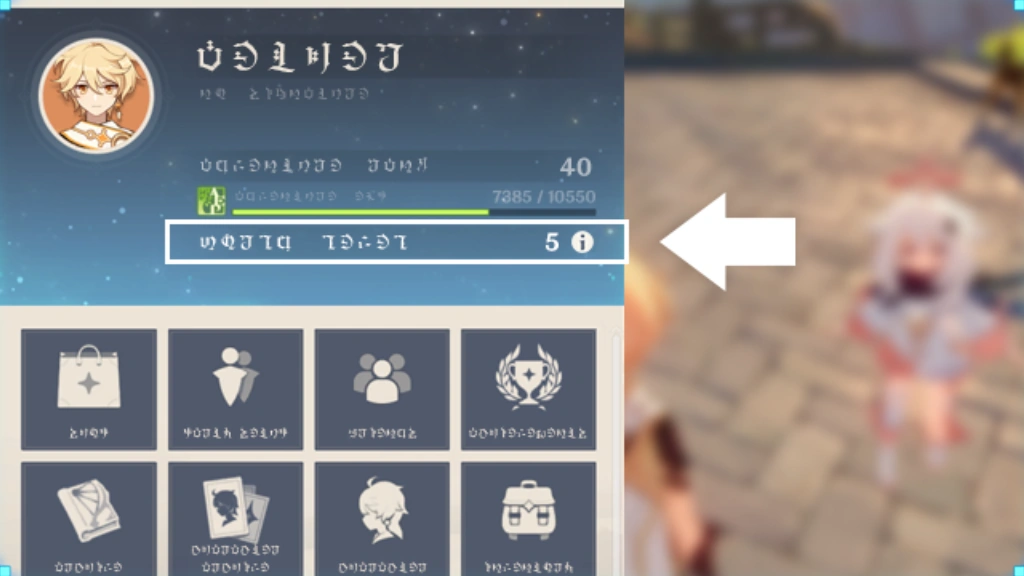 The Change World Level function is now unlocked. When you view World Level details, you can now decrease the World Level by 1 or restore your World Level. |
| Serenitea Pot - Important Message |
Main article: Housing  Talk to the teapot spirit inside the Serenitea Pot to learn about and manage all manner of teapot-related affairs. 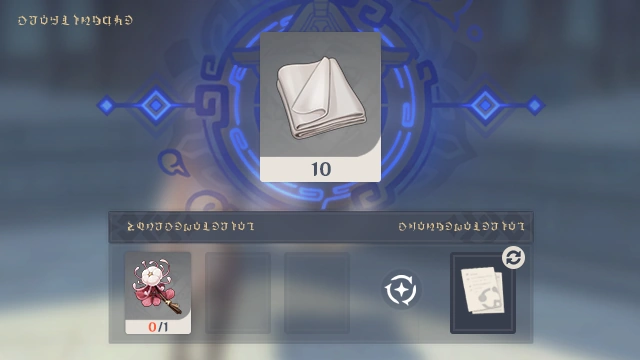 Materials used to create items can be gathered all over the world. 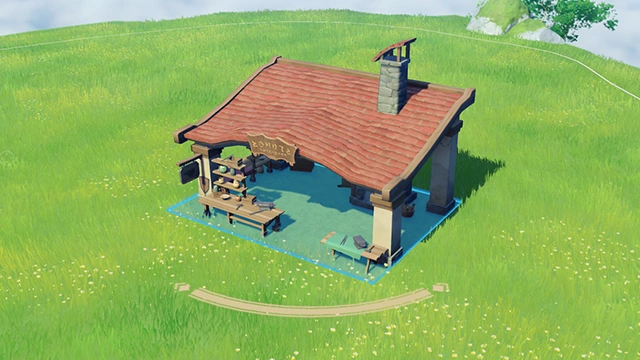 Place furnishings to increase the Adeptal Energy Rank of your Serenitea Pot. As your Adeptal Energy Rank increases, Realm Currency will accumulate at a faster rate. 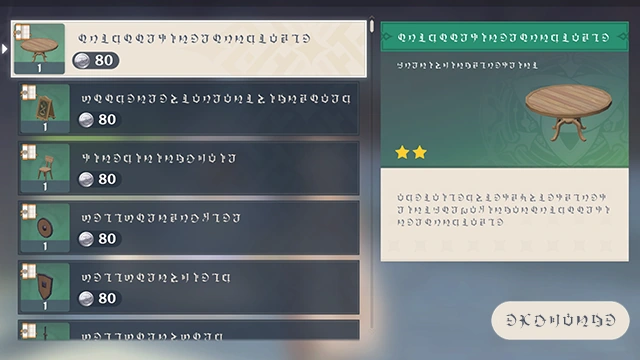 Once in a while, a Teapot Traveling Salesman will visit your abode. There is a chance that he will bring some rare treasures with him.  If you acquire the blueprint for a Furnishing Set, you can place furnishings by batch. You can still make adjustments to individual furnishings when batch-placing them. 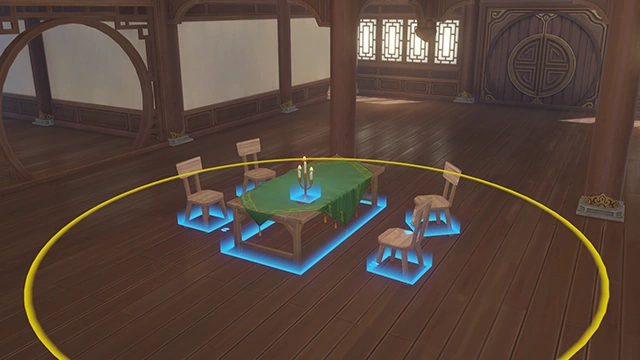 After using and summoning the Serenitea Pot, Travelers can interact with it and enter the abode within. Travelers can also use and summon the pot while they are within its confines. Interacting with the Serenitea Pot in this state will allow Travelers to leave it. Travelers can also directly open the map interface and fast travel to any of the Teleport Waypoints to immediately leave the Serenitea Pot. |
| Collecting Wood - Important Message |
Main article: Wood  Birch A tall tree that originates in the far north but which has since spread all over Teyvat. It produces a great many branches and is a key wood resource throughout the various nations. Birches are a common sight in the Windwail Highland and other places. Cut a Birch down to obtain Birch Wood.  Cuihua Tree A tree from which fruit hangs heavy. They say that some lush trees had fruits and cores which both had the color of sunset, hence earning them the moniker of "Cuihua Tree" Cuihua Trees are oft found around the Starfell Valley and Bishui Plain. Cut a Cuihua Tree down to obtain Cuihua Wood.  Pine A majestic tree with needle-like leaves which can live for up to a thousand years. Their sturdy forms can be found all over the continent, their winter-withstanding bones still standing strong in warmer lands. This has earned them the nickname of "winter pines." These trees are endemic to the Dragonspine region and other areas. Cut a Pine down to obtain Pine Wood.  Sandbearer Tree A tree with especially thick branches. This tree is exceedingly hardy, for its roots reach deep and it fears neither dry seasons nor evil weather. It is said that such trees can survive in the desert and even beat back the effects of salinization and drought, which is why it is honored as the Sandbearer Tree. Such trees are commonly found in the area around Minlin, Lisha, and other locations. Cut a Sandbearer Tree down to obtain Sandbearer Wood.  Qingce Bamboo An emerald bamboo from Mt. Qingce that stands proudly, straight as any sword. It is often used as a symbol for a pure, righteous, all-enduring gentleman. One may find many a Qingce Bamboo in the vicinity of Bishui Plain and other places. Cut Qingce Bamboo down to obtain Bamboo Segments. 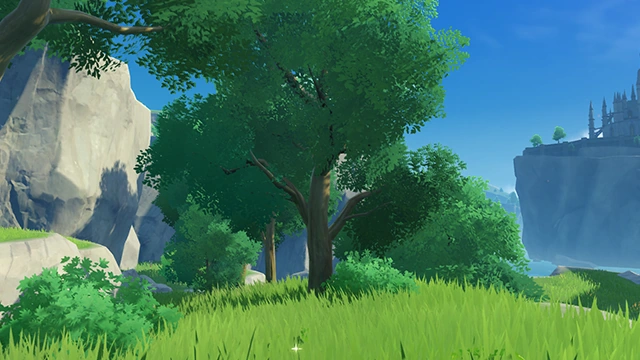 Cedar A tall, lush and dignified tree that is evergreen throughout the seasons. Even the chilling wind and snow cannot mar its emerald greenery. Cedars are common in the area around Starfell Valley and elsewhere. Cut a Cedar down to obtain Fragrant Cedar Wood.  Faber's Fir A tree that can be commonly found. Once it has adapted to its surroundings, it will grow swiftly into worthy timber. Faber's Firs can often be found in the area around Galesong Hill, Starfell Valley, and others. Cut a Faber's Fir down to obtain Fir Wood. 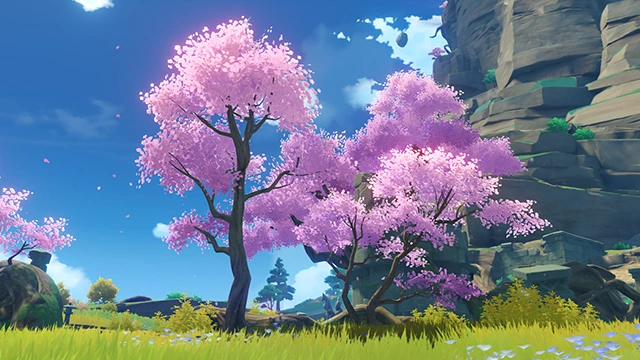 Sakura Tree An elegant tree that is pleasing to the eye, sporadically found across the eastern side of the nation. When the tree blossoms, it takes the appearance of a drifting pink cloud, and is often regarded as one of the most beautiful features of Inazuma. Sakura Trees can be found dotting the landscape of Narukami Island and other places. Cut a Sakura Tree down to obtain Yumemiru Wood.  Amur Maple A slender tree that sways with fan-shaped leaves red as fire. It's vibrant color paints the mountainside in red and is often quoted in poem and song as the symbol of late autumn. Amur Maples can be found dotting the landscape of Narukami Island and other places. Cut an Amur Maple down to obtain Maple Wood. 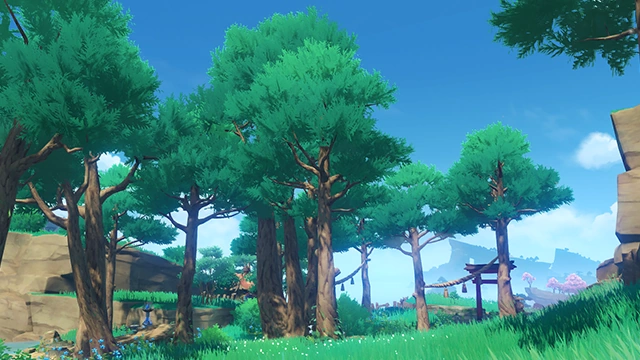 Inazuman Cedar A straight and sturdy tree with uniquely-shaped leaves and form that make it easy to identify. Inazuman Cedars can be found across Narukami Island and in other places. Cut an Amur Maple down to obtain Aralia Wood.  Otogi Tree A plain and ordinary-looking tree found throughout Inazuma. Some nursery rhymes portray the tree as the "whisper of nature," which has coined its name, "Otogi Tree," meaning the tree that keeps one company. Otogi Trees can be found all across Inazuma. Cut an Otogi Tree down to obtain Otogi Wood.  Brightwood Tree Uniquely-shaped plants that are very long-lived indeed. Its structure is quite unlike that of other arbors, presenting a rather free-spirited and changeable appearance. It is also hardy indeed, which allows it to survive in both the rainforest and the desert. Cut Brightwood Trees down to obtain Brightwood. 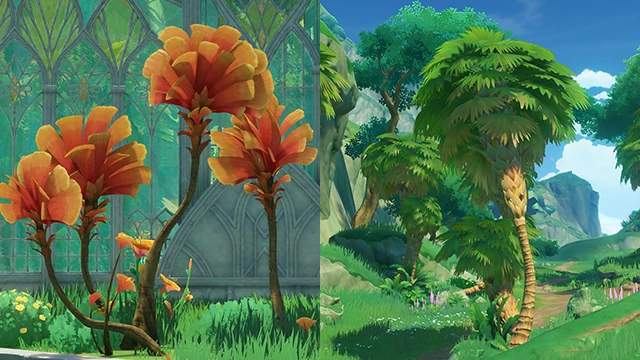 Karmaphala Tree A tree with a most unique look that loves high-temperature environments. Its wood is of the highest quality. It is said that its habitat can cause it to produce different-colored canopies. Cut Karmaphala Trees down to obtain Karmaphala Wood. 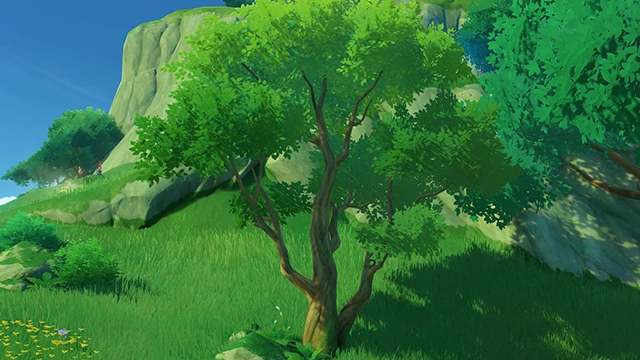 Adhigama Tree This tree can be commonly found in Sumeru. Most of them are spread throughout the nation's eastern rainforest, and has spent much time in companionship with its researchers and Forest Rangers. As such, it has witnessed many moments of dawning "comprehension." Cut Adhigama Trees down to obtain Adhigama Wood. 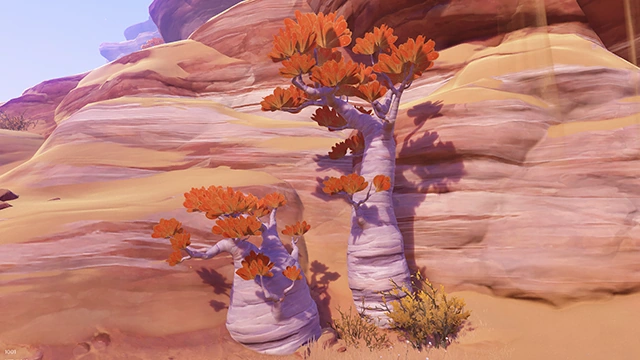 Mountain Date Tree This tree has a vivid, unique look. Its stem is wide and thick, and its bark is exceedingly hardy, allowing it to survive in the searing desert. Cut Mountain Date Trees down to obtain Mountain Date Wood.  Athel Tree A tree that can be found in hostile environments. It has vibrant and uniquely-shaped leaves and its root system is quite vast. These trees can, when necessary, enter a state in which they use the minimum amount of energy, which is a survival method unique to it. Cut Athel Trees down to obtain Athel Wood.  Mallow Tree This towering tree has a unique bark texture that protects it from pests in extremely wet environments. Despite its short lifespan, it's extremely easy to plant and cultivate in large numbers. Cut down Mallow Trees to get Mallow Wood.  Linden Tree This tree, with its massive amount of leaves and a sprawling crown, is an ideal choice for roadside shade. As some of their leaves are said to be heart-shaped, such trees are also called "Heartleaf Lindens." Cut down Linden Trees to get Linden Wood. 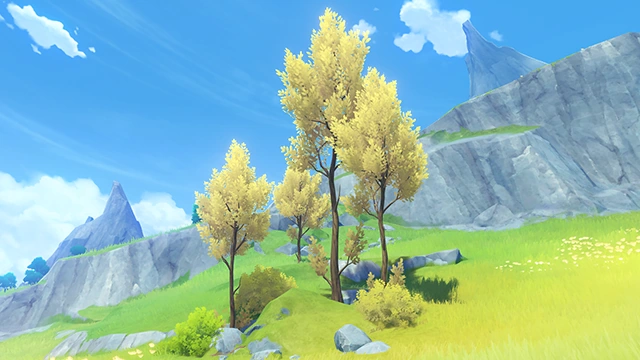 Ash Tree Seemingly weak and thin, this tree is actually so resilient as to grow rapidly in humid mountains and highlands. Its leaves sport light colors. Cut down Ash Trees to get Ash Wood.  Cypress Tree This tall tree is very easy to recognize. According to legends, long-lived specimens of this species have trunks of extraordinary girth. After heavy rains, these trees give off a refreshing scent... Cut down Cypress Trees to get Cypress Wood.  Torch Tree This plant species has a unique appearance, and is named after its eye-catching red leaves. Due to their relatively small numbers and low economic value, there has not been much in-depth academic research into these trees... Cut down Torch Trees to get Torch Wood. 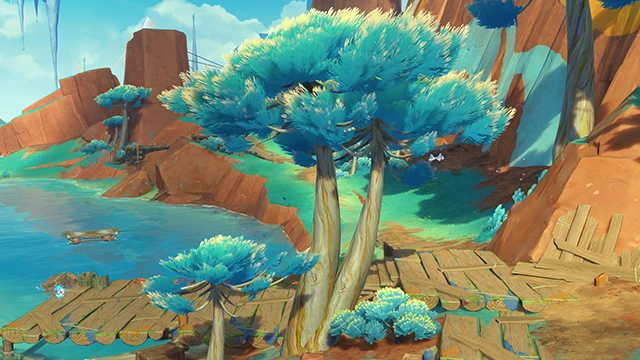 White Chestnut Oak Tree A tree that can be found all over Natlan. Hardy, vital, and adaptable, some of them have lived for a very long time indeed... Harvest White Chestnut Oak Trees to obtain White Chestnut Oak Wood. 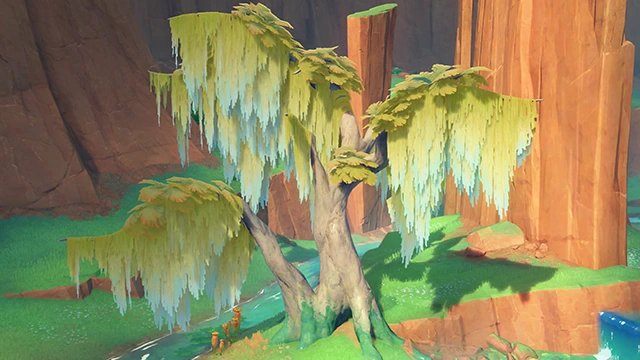 Ashen Aratiku Tree A tree that can be found in specific areas in Natlan. Their numbers are few, but for some reason, more of them grow near the Stadium of the Sacred Flame... Harvest Ashen Aratiku Trees to obtain Ashen Aratiku Wood. 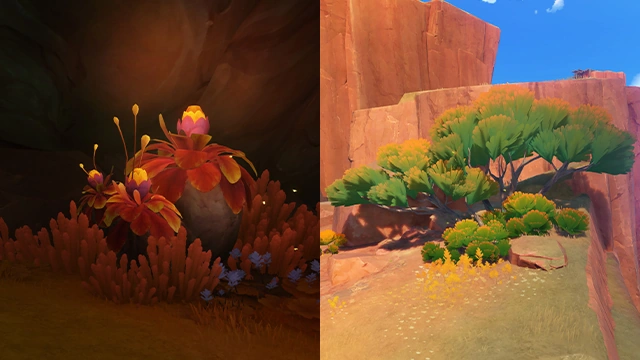 Flammabomb Tree This tree has a rather frightening name, but is, in fact, not prone to spontaneous ignition. Its name simply comes from its striking crown, which resembles an exploding fireball. Harvest Flammabomb Trees to obtain Flammabomb Wood.  Peach Palm Tree This tree bears a honeyed name, though it produces neither peaches nor palm coconuts. It is said that it was given this name because the wood's surface has a texture akin to coconut husks, and when processed, gives off a scent like that of peaches... Harvest Peach Palm Trees to obtain Peach Palm Wood.  Silver Fir Tree A tall, stately tree with a thick trunk that likes cool, wet conditions and possesses remarkable vitality. Harvest Silver Fir Trees to obtain Silver Fir Wood.  Hazelnut Tree A slightly unusual tree with a large number of subspecies that vary widely in appearance. It can be found in certain parts of Nod-Krai. Under special circumstances, it may even shed its branches and leaves, standing quiet and still... Harvest Hazelnut Trees to obtain Hazelnut Wood.  Pedunculate Oak Tree A tree commonly found in northern areas of Teyvat. Mature specimens have thick, sturdy trunks and, in the right conditions, some specimens can live for hundreds of years... Harvest Pedunculate Oak Trees to obtain Pedunculate Oak Wood. 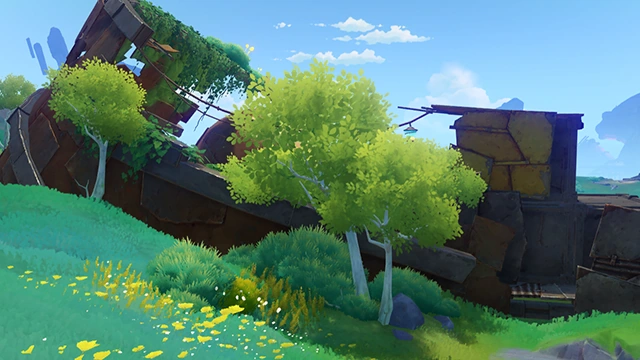 Alder Tree A tree that grows in colder regions with a remarkable ability to fix nutrients from the air and deliver them to the earth. Because of this, it is often known as a "pioneer species," and used to improve the quality of cold and barren soil... Harvest Alder Trees to obtain Alder Wood. |
| Fishing - Important Message |
Main article: Fishing 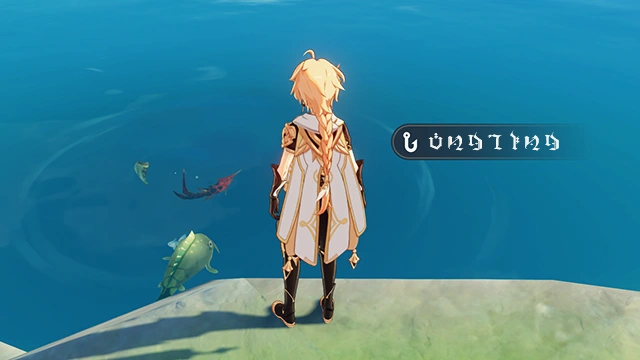 If you should see ripples in a nearby water body, this means that it is a Fishing Point. Get close to this Fishing Point and interact with it to start fishing. Fish are quite sensitive to their surroundings. If you stand too close or perform combat actions, the fish will be frightened and will scatter, and they will take a while to calm down and come closer to the water body again. 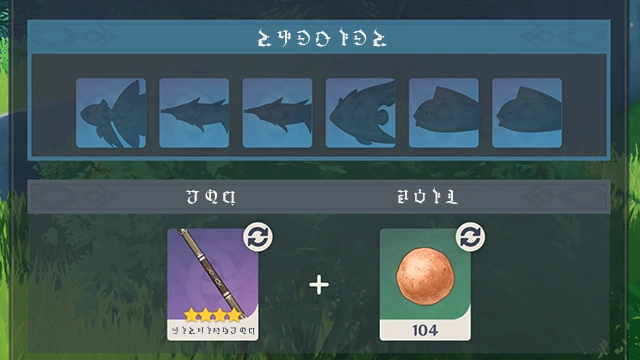 Different water bodies contain different species of fish. While preparing to fish, you can view the species that can be found here and select the appropriate rod and bait. You can obtain blueprints for making bait from the Mondstadt Fishing Association. Learning them will allow you to make bait at any Crafting Bench. Note that different fish are attracted to different kinds of bait~ 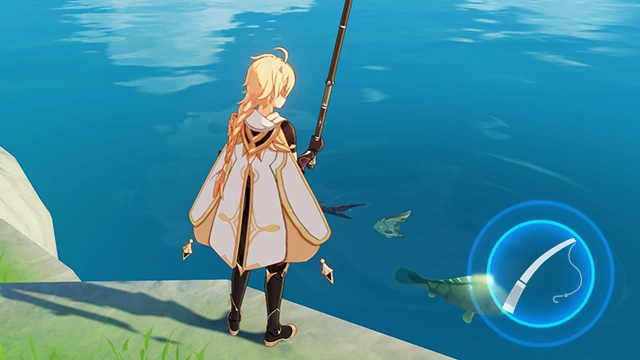 Hold the Cast Rod button to enter aiming mode: let go of said button to flick your bait and hook out. If your hook lands too far from the fish, its ability to attract them will greatly decrease. If it lands too close by, the fish will be startled and will flee the scene.  When the fish are on the hook, (tap/click/press) the Raise Hook button, or the fish might finish eating the bait and flee. Once you've successfully raised your hook, the fish will start to struggle.  When the fish enters a struggling state, you can hold and release the Fish button to adjust your fishing line tension and keep it in the yellow Ideal Tension Zone. Fishing progress will only increase if you stay in the Ideal Tension Zone. Otherwise, progress will drop. Once progress is full, you will have successfully caught this fish. 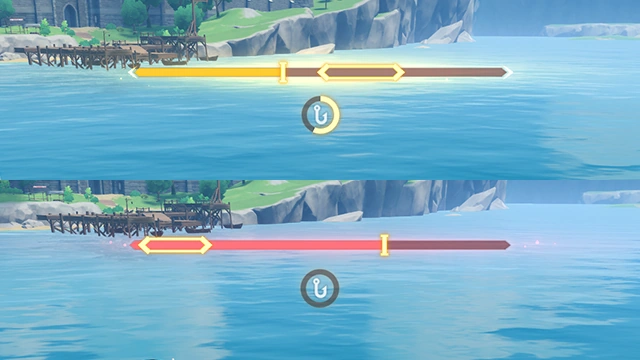 Fish on the hook will sometimes enter periods of intense struggle. At this time, the speed at which line tension may change will be affected, and the Ideal Tension Zone will turn orange and start to fluctuate slightly. If your fishing progress hits 0, the fish will try to escape. The Tension Zone will then turn red and start to fluctuate. |
| Ornamental Fish - Important Message |
Main article: Ornamental Fish  There are certain lively and more valuable specimens of each fish species known as Ornamental Fish, and Fishing Areas with such fish at them will have more obvious ripples effects.  Ornamental Fish can be raised in a Pool of Sapphire Grace within your Serenitea Pot. You can obtain the blueprint for building the Pool at the Fishing Association in Liyue. |
| Capacities of the Catch - Important Message |
Main article: Fishing Association 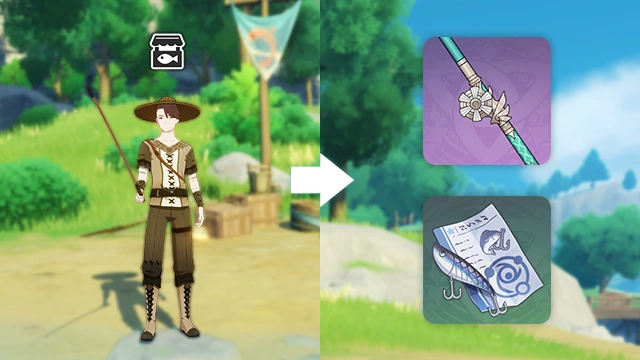 You can exchange caught fish at Fishing Associations in various regions for various materials. 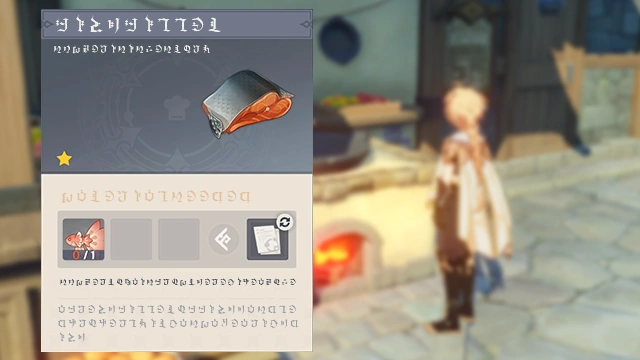 You can also use them as meat in cooking. |
| About the Multi-Layered Map - Important Message |
Main article: Map 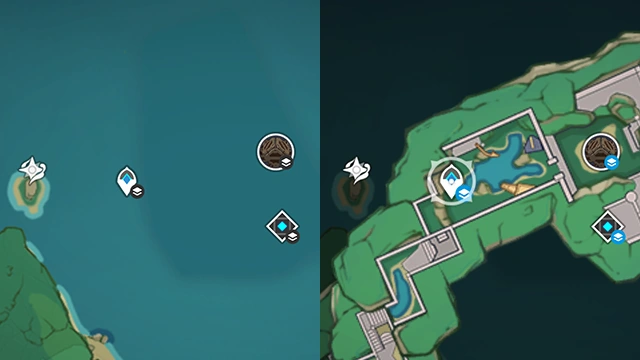 You will sometimes encounter Teleport Waypoint and Domain Entrance Map Pins bearing such sub-icons. These symbols indicate that the destination is located in a multi-layered area. After you unlock the corresponding map layer, you can interact with said pins to open the corresponding sub-map.  Use the layer markers on the right of the Map interface to switch between layers within the same group or select the big icon to return to the top-level map.  When browsing map layers, the sub-icon of the Map Pin(s) for the current layer will appear in bright blue.  Dotted lines will be used for indicators (Quest targets, Event targets, etc.) that are not located in the current map layer.  Additionally, when an area in the center of the map contains different layers that you have previously entered, you can use the layer-switching marker to swap over to the corresponding map. |
| Genius Invokation TCG: System Tutorial - Gameplay Tutorial |
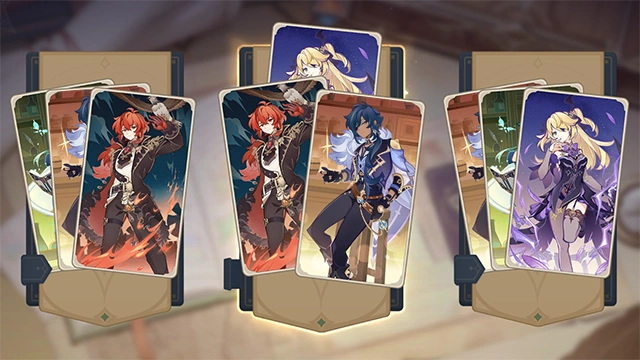
Main article: Genius Invokation TCG 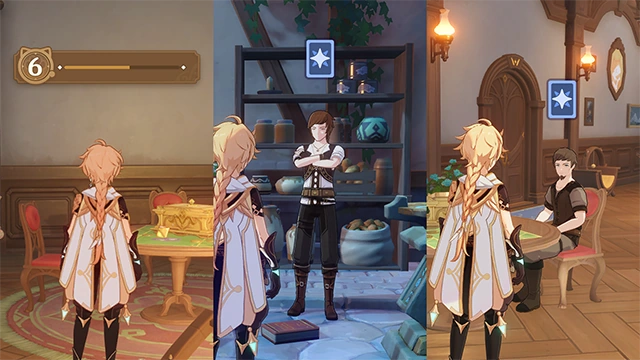 Find challengers in the open world or enter the tavern after reaching Player Level 2 to play matches against weekly visiting challengers and earn Player EXP, which will increase your Player Level. As your Player Level increases, you will unlock new functions and matches. Upon reaching a certain Player Level, you can also challenge Prince in Ascension Challenges to further elevate your maximum level capacity.  Genius Invokation is a popular card game with players coming from all corners of the world. Face them in matches and overcome them to get Player EXP and Lucky Coins. Should you be fortunate, some rivals might even gift you certain cards as a parting gift after the culmination of your duel. As your Player Level increases, the number of challengers you can face and the matches you can partake in will also increase...  You can use the invitation board to send invitations to registered challengers and partake in matches. Should you prevail in these matches, you can also earn corresponding Character and Talent Cards.  You can use the invitation board and connect with your friends via Co-Op to engage in matchmaking. As your Player Level grows, you can also challenge faraway strangers to duels of skill.  Spend the Lucky Coins you earn from Genius Invokation matches at The Cat's Tail. You can use Lucky Coins to purchase cards, card backs, and dynamic skins, amongst other items. |
| Genius Invokation TCG: Guest Challenges - Gameplay Tutorial |
Main article: Genius Invokation TCG  Every now and then, new visitors of great skill will arrive at The Cat's Tail seeking worthy rivals in a game of cards. Face and overcome them in matches to earn Player EXP and Lucky Coins. |
| Genius Invokation TCG: Tavern Challenges - Gameplay Tutorial |
Main article: Genius Invokation TCG  Once your skills reach a specific level, you can go seek out Prince at The Cat's Tail to partake in greater tests of mastery via Adventure Challenges. Should you prevail, you can earn Character and Talent Cards from your adversaries. |
| Genius Invokation TCG: Co-Op Matches - Gameplay Tutorial |
Main article: Genius Invokation TCG 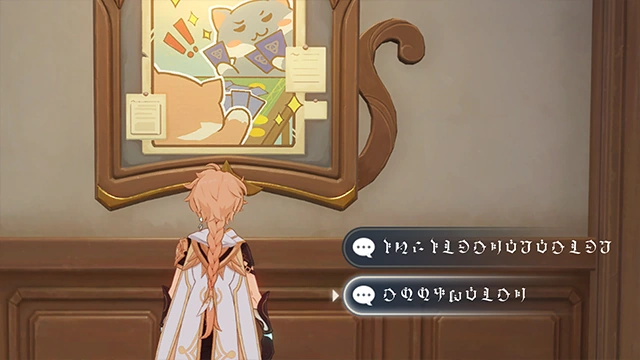 You can challenge any player to a duel in The Cat's Tail by interacting with the duel invitation board and sending out an invitation. |
| Casket of Tomes - Gameplay Tutorial |
Main article: Casket of Tomes 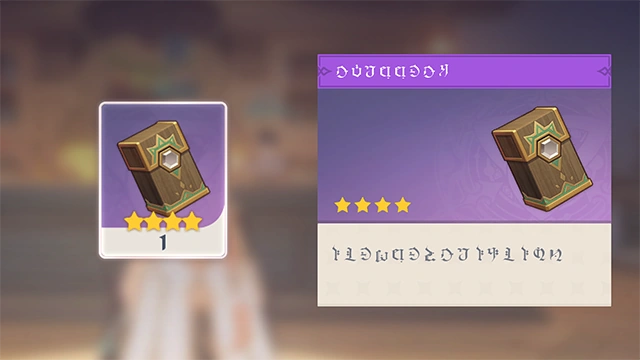 You can edit your decks using the Casket of Tomes and also search for characters nearby who also possess a Casket of Tomes, thereby identifying opponents you can challenge. 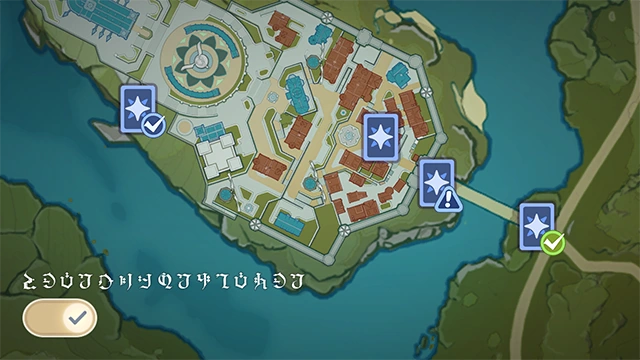 After searching for and locating a challenger, the map will appear, allowing you to mark rival card players who also possess a Casket of Tomes. You can use this method to tell who you can challenge to a game of cards with ease... When you use your Casket of Tomes to activate the ability to search for players, players closest to you whom you have yet to defeat will be prioritized. |
| Genius Invokation TCG Rules - Gameplay Tutorial |
Main article: Genius Invokation TCG 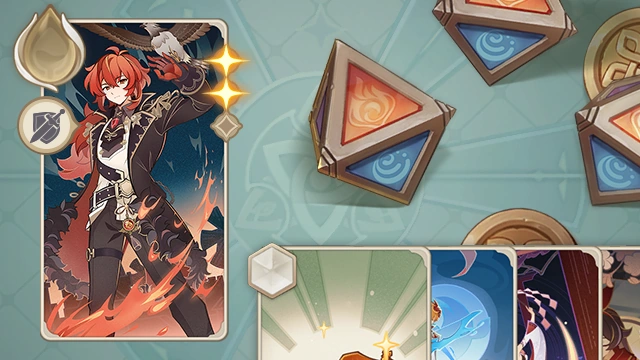 Genius Invokation TCG is a tightly-paced, heart-stopping tabletop card dueling game. Utilize your decks by constructing them around Character and Action Cards, and go toe-to-toe with various opponents at the table!  Roll Phase You will roll 8 Elemental Dice at the start of each Round. After throwing these dice, you will have 1 chance to choose any number of Elemental Dice and reroll them.  Elemental Dice Each Elemental Die is 8-sided and can roll any one of the following 8 elemental attributes: Cryo, Hydro, Pyro, Electro, Anemo, Geo, and Dendro, as well as the Omni Element, which can be regarded and used as any basic Element. Various types of actions require Elemental Dice as payment.  Action: Use Skill During your Action Phase, you may spend Elemental Dice to use the Skill(s) of your Active Character, which is a way of attacking your opponent's Active Character. Defeat all of your opponent's characters to win the duel!  Action: Switch Character During your Action Phase, you can spend 1 Elemental Die of any type to switch your Active Character.  Action: Play Card During your Action Phase, you can spend Elemental Dice to play Action Card(s). Of these, Equipment Cards can be used to strengthen specific character(s), while Support Cards can be used to continuously provide buffs. Event Cards will immediately take a one-time effect when played.  Action: Elemental Tuning During your Action Phase, you can discard card(s) to change the Elemental Type of your Elemental Dice. Each card discarded will allow you to change the Elemental Type of 1 Elemental Die to that of your current Active Character.  Action: Declare Round End Once you have completed your actions in this Round, you can declare the Round's end. The player who declares this first will play first next Round. Once both sides have made this declaration, this Round is over. Both players will draw 2 cards and begin a new Round. |
| View Genius Invokation TCG Rules - Gameplay Tutorial |
Main article: Genius Invokation TCG  Some Genius Invokation TCG cards' descriptions will contain certain Rule Terms that will be underlined. (Tap/Click/Press) these terms to view their detailed descriptions. 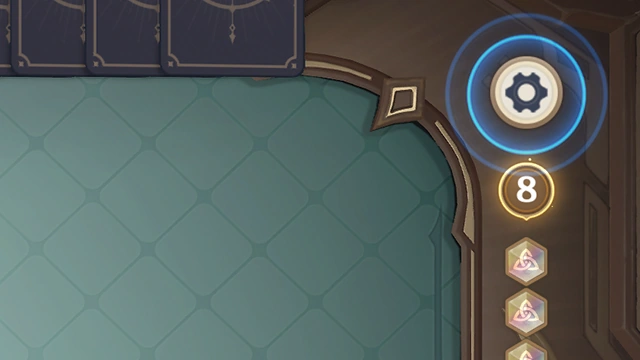 During Genius Invokation TCG duels, you may (Tap/Click/Press) on the "gear" button to the top right of the interface to read the rulebook. There, you can view Genius Invokation TCG rules in more detail. |
Imaginarium Theater: Begin Challenge - Gameplay Tutorial  |
Main article: Imaginarium Theater  You can use the Fantasia Tome in the Theater Lobby to start the "Imaginarium Theater" challenge. 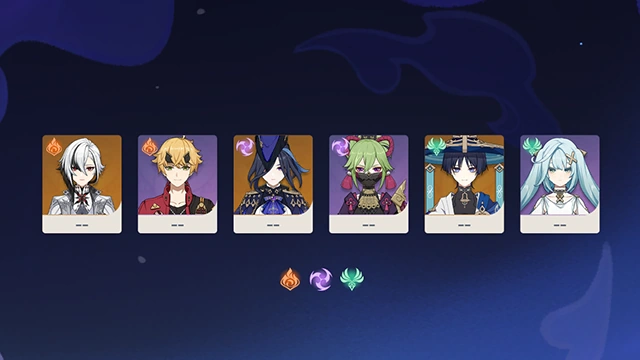 The theme of the "Imaginarium Theater" will change every so often, with the participation conditions and special guest characters changing along with it. The Opening Characters of each season will gain Fantastical Blessings, which will grant them special buffs in Performance Challenges and in your adventures across Teyvat.  You must select companions to form your party for the challenges according to the restrictions set by performance requirements. Each character starts with 2 Vigor. Each time they complete an Act's Performance Challenge, they will lose 1 Vigor. |
| Imaginarium Theater: Performance Events - Gameplay Tutorial |
Main article: Imaginarium Theater  All sorts of events can happen during an Imaginarium Theater challenge. Of these, Companion Events allow Alternate Cast members to join your Principal Cast. Wondrous Boons can grant your party combat buffs. Mystery Caches can grant certain benefits, but also carry a certain amount of risk.  After selecting Companion, Wondrous Boon, or Mystery Cache Events, Events other than Combat Events will be refreshed. When a Combat Event is selected, you will go on stage and start the current performance. 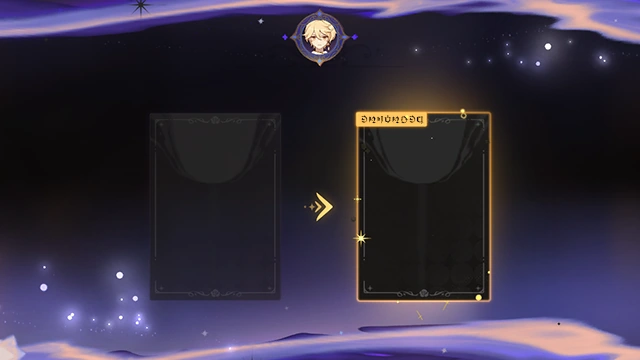 Characters who haven't yet participated in the gamemode have a chance to provide External Audience Support for Companion Events and Wondrous Succor, bringing you additional benefits. |
| Imaginarium Theater: Party Setup - Gameplay Tutorial |
Main article: Imaginarium Theater  As the challenge proceeds, you can use "Restart Performance" to change your party setup and try the challenge again. The composition of your party setup is key to completing your performance.  Each character who takes part in the performance will start with 2 Vigor. Each time they complete a Combat Event, they will lose 1 Vigor. At the same time, 1 random Alternate Cast member will be chosen to join the Principal Cast. |
| Imaginarium Theater: Challenge Rewards - Gameplay Tutorial |
Main article: Imaginarium Theater  After completing Performance Challenges in the "Imaginarium Theater," you can earn various goods from both "Debut Performance Gifts" and "Performance Tour Rewards." Clearing the Performance Challenge in at least 3 Acts will unlock Wolfy's "Thespian Trove." There, you can exchange Toy Medals for Thespian Tricks. |
| Imaginarium Theater: Thespian Trove - Gameplay Tutorial |
Main article: Imaginarium Theater  The Thespian Tricks available from the Thespian Trove will be reset along with each new season of the Imaginarium Theater. After exchanging for Thespian Tricks, you can use them on the corresponding character's photo page. |
| Envisaged Echoes - Gameplay Tutorial |
Main article: Envisaged Echoes  Reach the requirements in the Imaginarium Theater performance challenge to gain Keys of Echoes. Each 2 Keys you consume allows you to unlock 1 character's Envisaged Echoes stage. After completing the challenges, you can obtain that character's Echo cosmetic. |
| Configure Party Order - Important Message |
Main article: Party  (Keyboard) Hold the left-side Drag Button to adjust party order in the list. (Mobile) Hold the left-side Drag Button to adjust party order in the list. (Controller) After pressing the left stick to enter sorting mode, use it to adjust the order of parties in your list. |
| Artifact Definition and Extraction - Gameplay Tutorial |
Main article: Artifact Transmuter  Artifact Definition: Consume Sanctifying Elixir to generate Artifacts of the designated Set and Piece, with the designated Main Affix and some of the Minor Affixes. Artifact Extraction: Consume 5-star Artifacts of Lv. 4 and above to extract Sanctifying Elixir. The amount of Sanctifying Elixir that can be extracted in a single period is limited, and each Artifact Set can be defined once this way per period. 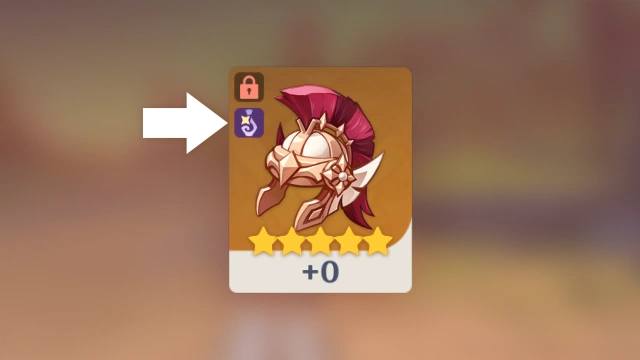 Artifacts defined through the consumption of Sanctifying Elixirs are guaranteed to get at least 2 rolls for the defined Minor Affixes when fully leveled up. Multiple defined Minor Affixes will share this pool of rolls. |
| Imaginarium Theater - Brilliant Blessings - Gameplay Tutorial |
Main article: Imaginarium Theater 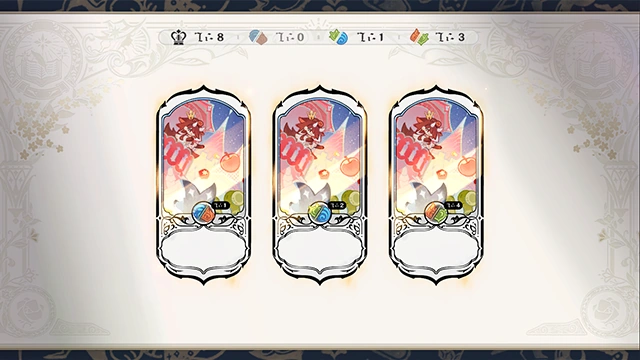 Brilliant Blessings will grant considerable buffs to characters who meet the requirements for this season, enhancing their effectiveness in combat via Elemental Reactions. Select Brilliant Blessing events continuously to increase your Blessing Level and further enhance the corresponding Elemental Reaction buffs. Increase Brilliant Blessings levels to accumulate Blessing Levels. Characters will also gain additional attribute increases in the Imaginarium Theater depending on the Blessing Level. |
| Repertoire of Myriad Melodies - Gameplay Tutorial |
Main article: Repertoire of Myriad Melodies  The "Repertoire of Myriad Melodies" can be used to play songs from all over Teyvat, including songs related to the companions you've met on your journey. You can also edit existing scores for songs and share them with other players, who can then play them. 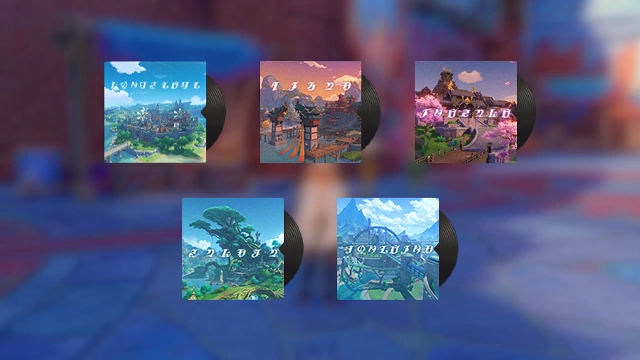 The "Repertoire of Myriad Melodies" albums have specific themes and contain songs related to said themes or to characters. The albums will be updated periodically. 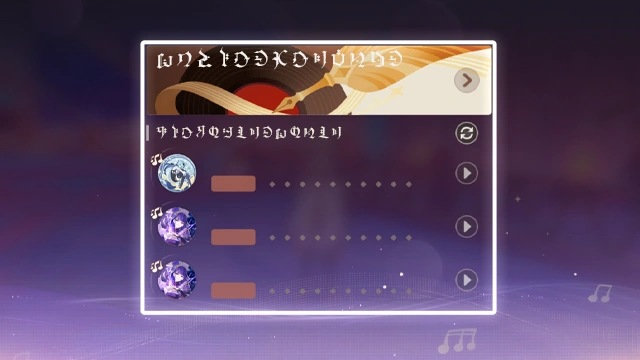 You can use the recommendations on the main menu of "Repertoire of Myriad Melodies" to quickly play scores that have recently received high ratings from other players. Use the Score Exchange function to create scores of your own and try ones created by other players. |
| Metronome - Gameplay Tutorial |
Main article: Music Gadget 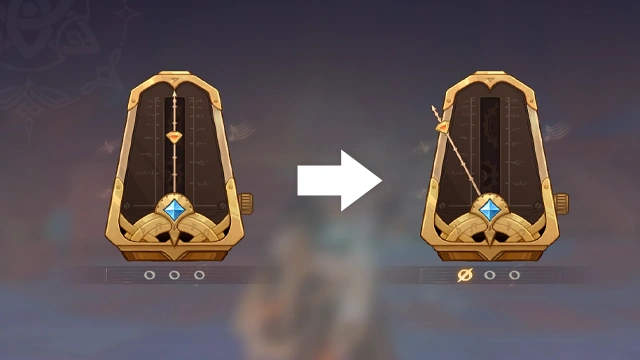 You can opt to activate the metronome when performing to control the performance rhythm more precisely. You can adjust the beat count parameters and metronome duration to adjust the metronome's assisting effects. |
| Song Rewards - Gameplay Tutorial |
Main article: Repertoire of Myriad Melodies  Play scores at different difficulties to obtain the corresponding rewards. Completing the performance at a higher difficulty will immediately earn you the lower-difficulty rewards. |
| Performance Tutorial - Gameplay Tutorial |
Main article: Repertoire of Myriad Melodies  During the performance, different notes will appear on the screen. When a note falls on the Decision Line, strike the Decision Line to score points. The amount of points scored will vary depending on the timing of your stroke.  A long note is represented by a long strip of light. Hold the button to play the note, then release after the light strip disappears to score points. |
| Artifact Reshaping - Gameplay Tutorial |
Main article: Dust of Enlightenment 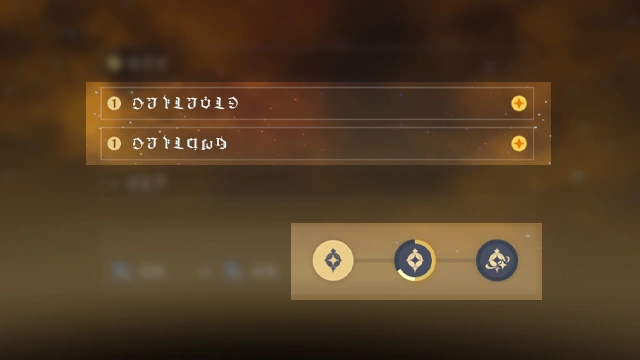 You may consume Dust of Enlightenment to reallocate the enhancements of Minor Affixes on a fully-leveled 5-star Artifact. When reshaping this artifact, you must select 2 Minor Affixes. The affixes selected for reshaping will, at minimum, receive a total of 2 enhancements. Consuming Dust of Enlightenment will grant a fixed amount of Hallowed Exegesis. Once you reach a certain amount of progress, a higher level of Artifact reshaping shall become available... |
| Co-Op Ensemble - Gameplay Tutorial |
Main article: Repertoire of Myriad Melodies  You can initiate Co-Op performances on the Score Selection Page. In Co-Op performances, all participants perform individually and compete to gain the highest rating. In Co-Op performances, the initiator can select special options to increase or decrease the score's difficulty or create special challenges. Certain special options will not take effect in Co-Op performances |
| Specialization Effect - Gameplay Tutorial |
Main article: Repertoire of Myriad Melodies 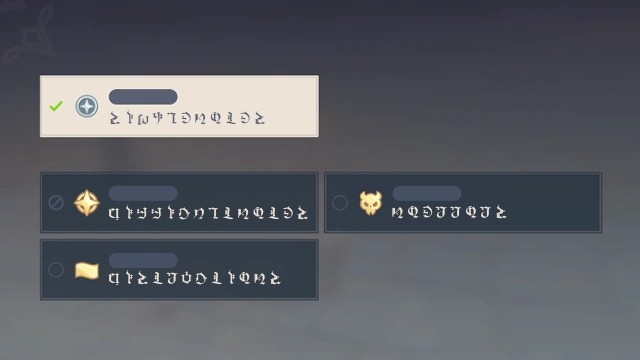 Before performing a score, you can choose from various "Specializations" to enrich your performance experience, such as increasing or lowering the difficulty, or taking on additional challenges.  "Specialization" effects can be applied to scores from official albums as well as pieces created by other performers. Successfully performing a score with difficulty-enhancing Specialization effects will earn you the corresponding medal. |
| Special Story Mode Save Point - Gameplay Tutorial |
Main article: Special Story Mode  When this icon appears in your quest tracker, it indicates that your progress has been saved, and exiting story mode will not set your progress back.  When you are in a special story mode, you can tap the exit button to check your last save. |
| Guiding Notes - Gameplay Tutorial |
Main article: Guiding Notes  You can also view Guiding Notes directly during certain conversations. |
| Edge of Survival - Gameplay Tutorial |
Main article: Edge of Survival  At the shooting range onboard the train, you can undertake special challenges at the simulated Shadow Realm Edge of Survival. This is where you can truly push the envelope and test the limits of your firearms skills and techniques! You can quickly access the shooting range for the challenge from your Snezhnaya Adventure Journal.  Unlock Edge of Survival challenge stages by first completing the corresponding Shadow Realm challenges in Snezhnaya.  Before the challenge starts, you may select Difficulty Clauses of various types that have effects such as enhancing the opponent's HP, ATK, and combat skills. Doing so will raise the overall difficulty of the challenge. The more Difficulty Clauses you select, the higher the overall challenge difficulty will be, and the more points you earn from defeating an opponent.  Once the challenge begins, you have to defeat as many opponents as possible within the time limit. Every opponent you defeat earns you the corresponding points as well as extends the challenge duration. Earn additional points when you establish and maintain a defeat streak.  If you manage to defeat every opponent in the time given, you will also earn bonus points based on time remaining at the time of your last kill. The more time you had remaining, the more points you get.  Each challenge stage has its own Frontrunners' Edge section where you can see how your friends and other Travelers are doing. |
| Snezhnaya Adventure Journal - Gameplay Tutorial |
Main article: Snezhnaya Adventure Journal  In the Snezhnaya Adventure Journal, you can view your ongoing and available quests in Snezhnaya. This is also where you can collect corresponding rewards after completing Archon Quests and World Quests.  The Experiences section of your Snezhnaya Adventure Journal. Here, you can find the Meeting Points you have discovered while exploring Snezhnaya. Additionally, you can also view in this section any Special Recruitment Projects that can be done this week.  The Shadow Realm History section of your Snezhnaya Adventure Journal. Here, you can find the Shadow Realms and even more dangerous Shadow Realms you have uncovered while exploring Snezhnaya, and quick-travel to any of these realms for a good ol' cleanup operation.  The Snezhnaya Adventure Journal also allows you to look up the temperatures of the current area. In low-temperature locations, the Eye of Graeae will expend Kresnik Energy to regulate body temperature. Kresnik Energy depletes more quickly in Frigid Zones, and in Subzero Zones, Kresnik Energy will be depleted even more quickly and lead to catastrophic effects. Therefore, do keep an eye on the environmental temperature where you're going! |