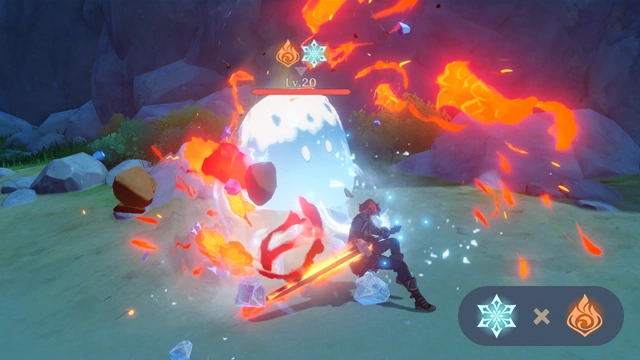
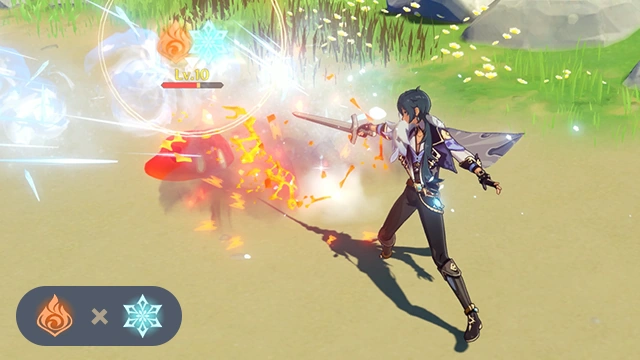
Tutorial/Elements
Last updated 2024-11-16
There are 25 tutorials that focus on elements and elemental reactions:
About Hydro - Elemental Reactions  |
|---|
Main article: Hydro 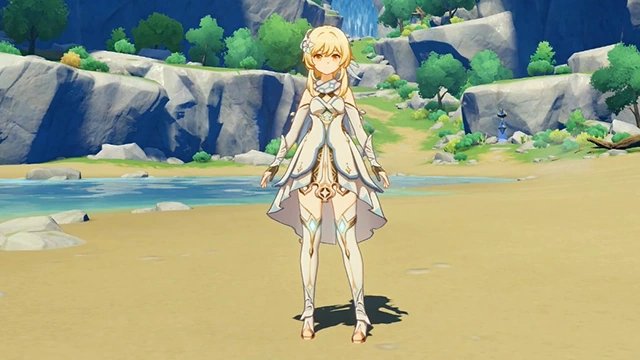 Wet environments and Hydro Attacks can cause beings to become affected by Hydro. When Hydro meets other elements, it often triggers an Elemental Reaction. 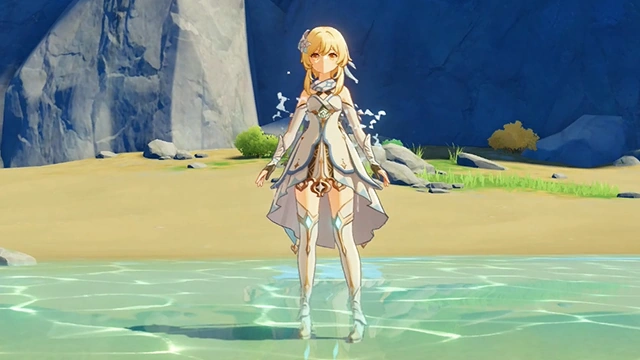 Wet environments and Hydro Attacks can cause beings to become affected by Hydro. When Hydro meets other elements, it often triggers an Elemental Reaction. |
About Cryo - Elemental Reactions  |
Main article: Cryo 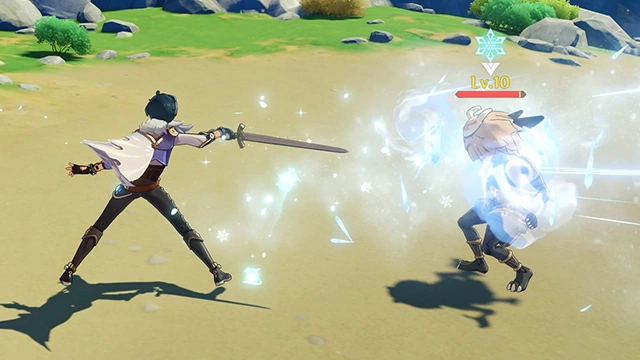 Being hit by a Cryo attack leaves the victim affected by Cryo and decreases Movement SPD. When Cryo meets other elements, it often triggers an Elemental Reaction. |
About Pyro - Elemental Reactions  |
Elemental Reaction: Frozen - Elemental Reactions  |
Main article: Frozen 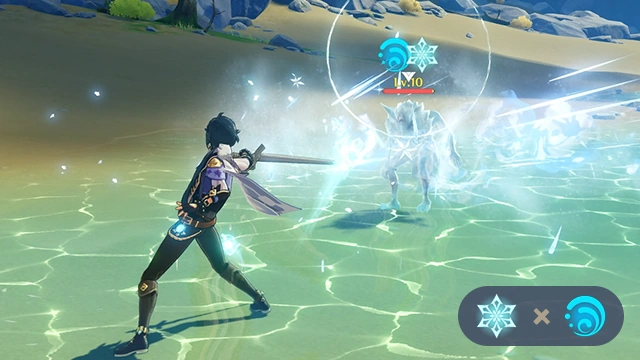 When Cryo meets Hydro, Frozen occurs. Frozen beings are rendered immobile, but also become rock-hard. |
Elemental Reaction: Vaporize (I) - Elemental Reactions  |
| Elemental Reaction: Vaporize (II) - Elemental Reactions |
Elemental Reaction: Electro-Charged (I) - Elemental Reactions  |
Main article: Electro-Charged  When Electro meets Hydro, Electro-Charged occurs. Electro-Charged continuously deals Electro DMG until it wears off. |
| Elemental Reaction: Electro-Charged (II) - Elemental Reactions |
Main article: Electro-Charged 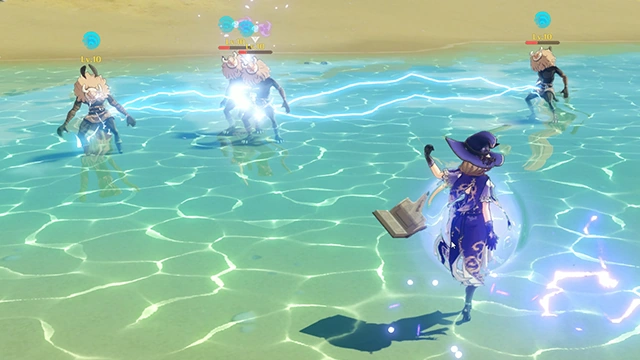 Electricity intermittently arcs off of Electro-Charged beings, shocking Hydro-affected opponents nearby. |
| Elemental Reaction: Electro-Charged Water - Elemental Reactions |
Main article: Water 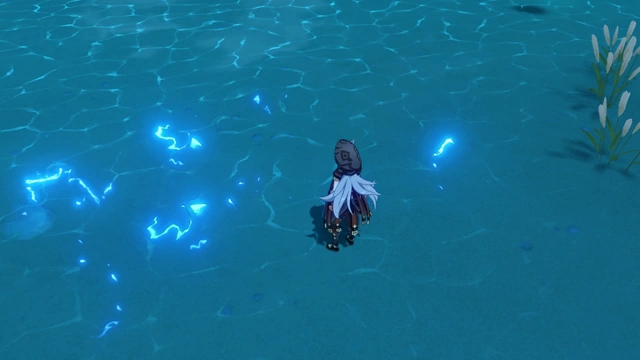 Electro attacks can electrify bodies of water. Electro-Charged water deals Electro DMG to all beings in the AoE. |
Elemental Reaction: Overloaded - Elemental Reactions  |
Main article: Overloaded 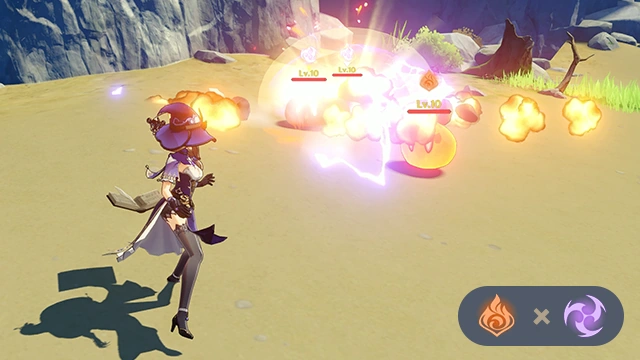 When Pyro meets Electro, Overloaded occurs. The resulting explosion deals AoE Pyro DMG, and tears effortlessly through otherwise sturdy objects. |
Elemental Reaction: Superconduct - Elemental Reactions  |
Main article: Superconduct |
Elemental Reaction: Burning - Elemental Reactions  |
Elemental Reaction: Swirl - Elemental Reactions  |
Elemental Reaction: Melt (I) - Elemental Reaction  |
| Elemental Reaction: Melt (II) - Elemental Reaction |
Elemental Reaction: Crystallize - Elemental Reaction  |
Main article: Crystallize 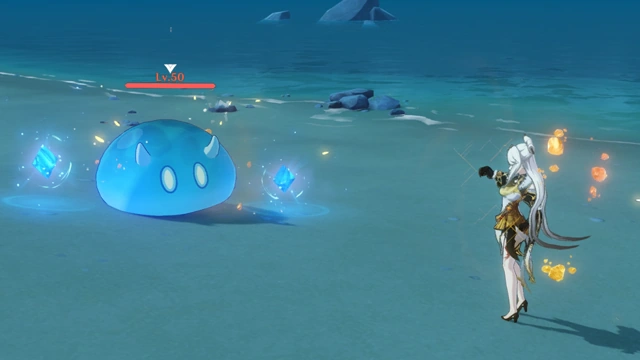 When Geo comes into contact with Hydro/Pyro/Cryo/Electro elements, Crystallize will be triggered!  This type of elemental reaction can generate corresponding Elemental Shards and provide your character with various Elemental Shields! Use Crystallize to effectively reduce DMG taken in battle. |
Elemental Reaction: Catalyze - Elemental Reaction  |
Main article: Catalyze 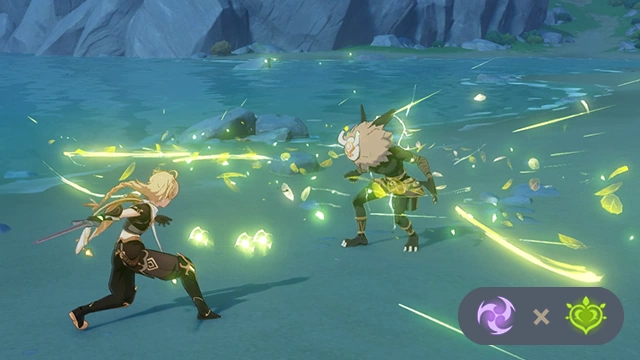 When creatures are affected by Electro and Dendro, Quicken will occur, which will render them Quickened. 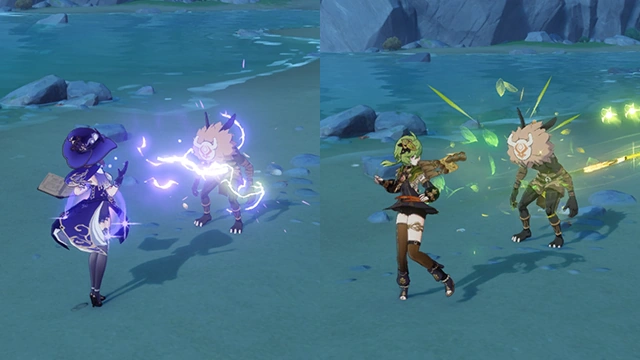 When Quickened creatures are affected by Electro or Dendro attacks, the Aggravate or Spread reactions will occur respectively, causing them to take additional DMG. |
Elemental Reaction: Bloom - Elemental Reaction  |
Main article: Bloom 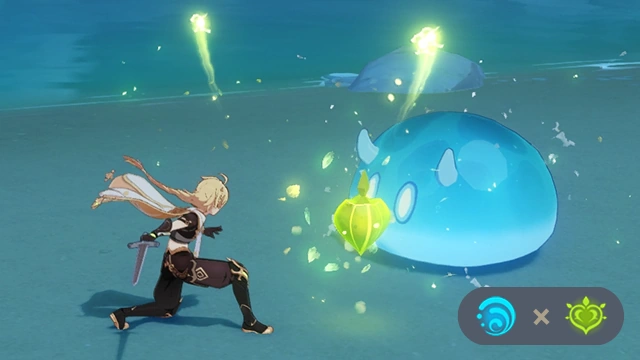 When creatures are affected by Hydro and Dendro, the Bloom reaction will be triggered, creating Dendro Cores. 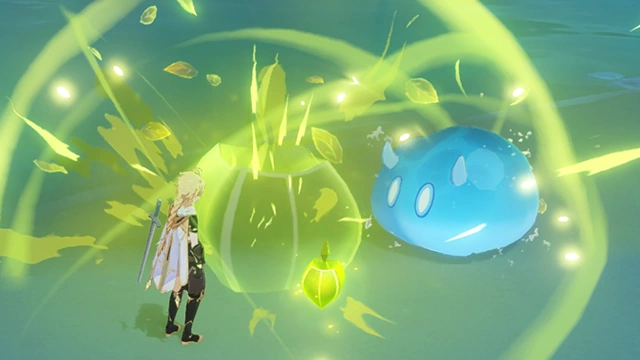 Only a certain number of Dendro Cores can exist at the same time. If new ones are created once this limit is reached, or if the duration of the existing Dendro Cores ends, the pre-existing Dendro Cores will explode, dealing AoE Dendro DMG... 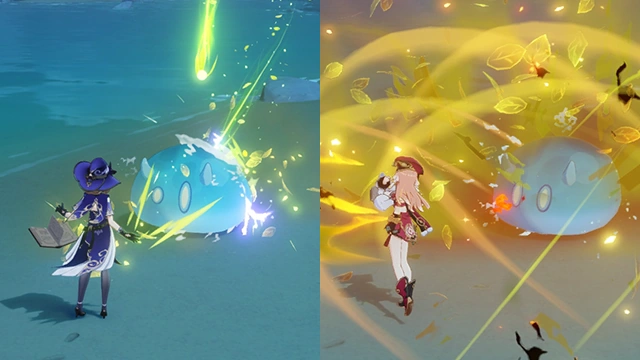 When Dendro Cores come into contact with Pyro, they will trigger Burgeon, causing even greater AoE Dendro DMG. When Dendro Cores come into contact with Electro, they will trigger Hyperbloom and transform into homing Sprawling Shots. |
Elemental Reaction: Lunar-Charged - Elemental Reaction  |
Main article: Lunar-Charged 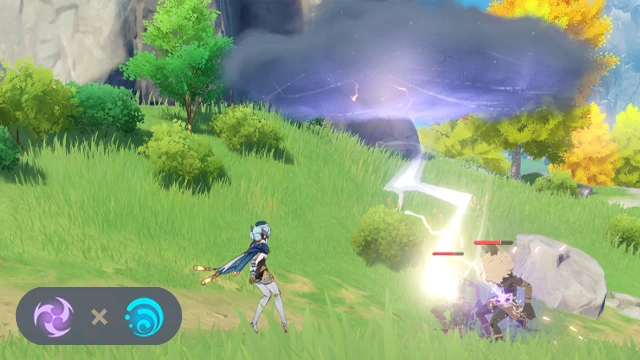 When Electro meets Hydro, and certain other conditions are met, a special Lunar-Charged reaction occurs, and a thundercloud forms. This thundercloud will continuously release bursts of lightning at nearby targets who are affected by both Electro and Hydro, dealing Electro DMG. This DMG can trigger CRIT Hits, and the DMG dealt is based on all characters who have applied elements during the reaction. |
Elemental Reaction: Lunar-Bloom - Elemental Reaction  |
Main article: Lunar-Bloom 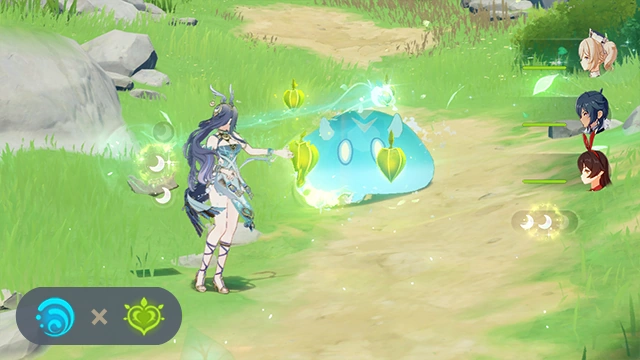 When Dendro meets Hydro, and certain other conditions are met, a special Lunar-Bloom reaction occurs. In addition to the standard Bloom reaction effects, this also provides the party with valuable "Verdant Dew." Certain characters can consume "Verdant Dew" or utilize their Talents to deal Lunar-Bloom DMG to enemies. This DMG can trigger CRIT Hits. |
| Verdant Dew - Elemental Reaction |
Main article: Lunar-Bloom 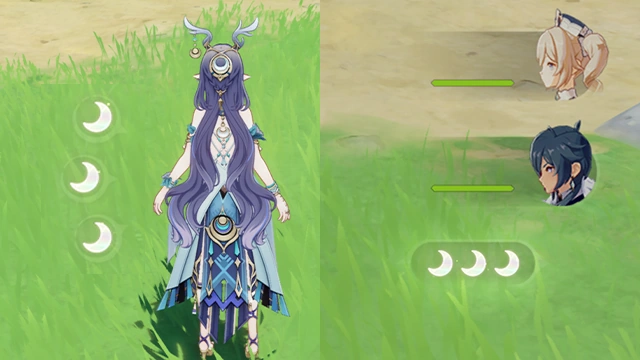 Within 2.5s after party members trigger Lunar-Bloom reactions, your party will receive 1 Verdant Dew every 2.5s. Your party can have up to 3 Verdant Dew. If you trigger another Lunar-Bloom reaction during this time, the duration of this effect will be reset. 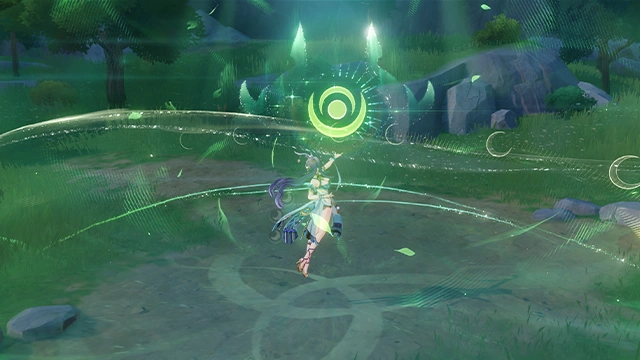 Certain characters can consume Verdant Dew to deal Lunar-Bloom DMG to enemies. |
Elemental Reaction: Lunar-Crystallize - Elemental Reaction  |
Main article: Lunar-Crystallize 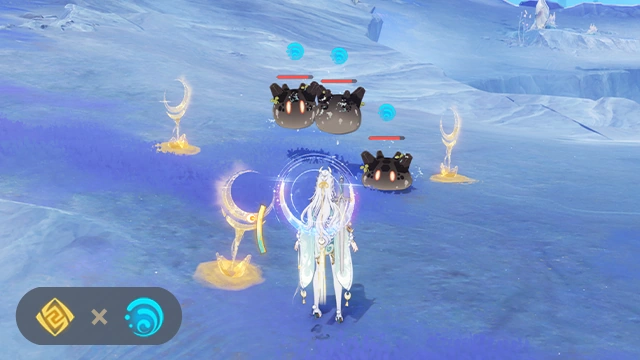 When Geo meets Hydro, and certain other conditions are met, a special Lunar-Crystallize reaction occurs, and three Moondrifts will form near the target. 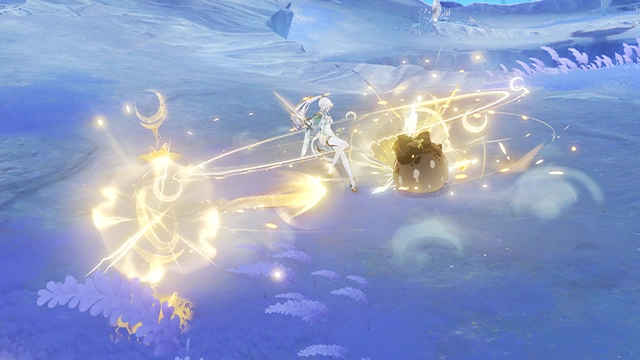 Triggering the Lunar-Crystallize reaction three times will initiate Moondrift Harmony, which deals Geo DMG to nearby opponents. This DMG can trigger CRIT Hits, and the DMG dealt is based on all characters who have applied elements during the reaction. |
Elemental Reaction: Stellar Swirl - Elemental Reactions  |
Main article: Stellar Swirl  When Anemo meets Cryo, and certain other conditions are met, a special Stellar Swirl reaction is triggered. This deals an instance of Anemo DMG to the opponent and generates a Stellar Vortex. Triggering Stellar Swirl multiple times raises the level of the Stellar Vortex, which explodes after a certain time or after a certain number of Stellar Swirl reactions have been triggered. This deals AoE Cryo DMG to nearby opponents. The aforementioned DMG can CRIT.  Up to one Stellar Vortex can exist on the field within a certain range. A Stellar Vortex on the field will level up to Lv. 2 after a certain number of Stellar Swirl reactions have been triggered. A higher-level Vortex deals more AoE Cryo DMG to opponents over a wider area when it explodes. After a Stellar Swirl reaction is triggered, certain nearby characters will also enter the Radiance: Stellar Swirl effect for 8s, which enhances certain Talents and skill effects. Certain characters can use their Talents to deal Stellar Swirl reaction DMG to opponents. This DMG can trigger CRIT Hits.  When the Stellar Vortex explodes, it will also grant nearby characters the ability to jump higher once, for a short time. |
Elemental Reaction: Stellar-Conduct - Elemental Reactions  |
Main article: Stellar-Conduct  When Cryo comes in contact with Electro, a special Stellar-Conduct reaction will be triggered if certain conditions are also met. When this happens, a Starlight Prism is generated, and the surrounding area turns into a wondrous Polestar Field for a short period of time. All characters inside the Polestar Field receive a Cryo and Electro DMG Bonus, and when opponents within the field are hit by Cryo or Electro attacks, the field will store the dissipating elemental energies and then completely release them every 4s. This further increases the aforementioned DMG Bonus and also increases the Base Stellar-Conduct DMG coefficient for 4s. Additionally, opponents within the Polestar Field will also have their Physical RES lowered.  Certain characters will also gain the effects of Radiance: Stellar-Conduct when within the Polestar Field, enhancing certain Talents and skill effects. Certain characters can deal Stellar-Conduct DMG to opponents using their Talents, and this DMG can trigger CRIT Hits. |
Starlight Prism - Elemental Reaction  |
 In certain places in Snezhnaya, a Starlight Prism will also generate a Prism Mirage that lasts for a short time at the same location when it vanishes. Approach the mirage to activate the Starlight Prism again, at which point it will remain on the field permanently. Prisms activated by such interactions have a chance to appear in other Travelers' worlds. Similarly, Prisms from other Travelers' worlds may also appear in your world.  In certain places in Snezhnaya, the Polestar Field also presents with additional capabilities: · When inside a Polestar Field, the Eye of Graeae will not lose any energy. If the Eye's energy level is below 30%, it will also be immediately restored to 30%. · It also appears that Prime Ice Constructs inside a Polestar Field will gain various wondrous buffs... |